
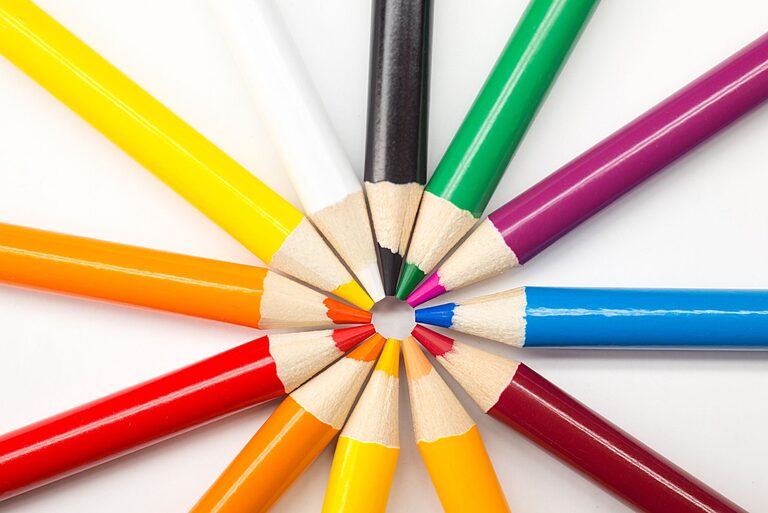
Every parent knows the joy of seeing their child’s creativity come to life through artwork. From colorful paintings to crafty sculptures, kids’ art is a wonderful way to celebrate their imagination and growth. However, with all the masterpieces piling up, it can quickly lead to clutter and disorganization. Keeping kids’ art organized not only preserves precious memories but also helps maintain a tidy home.
In this post, we’ll explore practical tips and creative ideas to help you manage and organize your children’s artwork efficiently, making it easy to enjoy and cherish their creative efforts.
Why Organize Kids’ Art?
Before diving into tips, it’s helpful to understand why organizing kids’ artwork matters:
– Preserves memories: Artwork is a tangible reminder of your child’s growth and creativity.
– Reduces clutter: Managing art pieces keeps your living space neat and comfortable.
– Encourages creativity: An organized system can inspire kids to create more.
– Simplifies decision-making: Helps you decide which pieces to keep and which to recycle.
Step 1: Create a Dedicated Art Space
Start by establishing a specific area in your home for storing and displaying art. This could be a shelf, a drawer, or a section of a wall. Having a designated space makes it easier to keep artwork in one place.
Tips for Setting Up an Art Space
– Use clear bins or plastic containers with lids to keep art supplies and finished works dust-free.
– Install a corkboard or magnetic board to display recent creations.
– Consider a small filing cabinet or accordion file for flat art pieces.
Step 2: Sort Artworks Regularly
To prevent overwhelming piles, sort through your child’s artwork regularly, such as monthly or quarterly.
Sorting Criteria to Consider
– Display-worthy: Pieces your child or you want to showcase.
– Keep for memories: Artwork with sentimental value.
– Recycle or repurpose: Pieces that are less meaningful or duplicates.
Sorting helps prioritize what to keep and frees up space.
Step 3: Use Storage Solutions That Fit Your Space
Choose storage options based on the size of your home and the amount of artwork.
Popular Storage Methods
– Portfolios or art folders: Large, flat folders ideal for drawings and paintings.
– Binders with plastic sleeves: Great for organizing smaller artworks by date or theme.
– Digital storage: Taking photos or scanning artwork to create digital albums.
– Art boxes: Label boxes by year or child for easy retrieval.
– Hanging files: Use a filing system to keep art organized by grade or age.
Step 4: Display Art Creatively
Displaying kids’ art boosts their confidence and adds personal charm to your home.
Display Ideas
– Gallery wall: Frame favorite pieces and arrange them on a wall.
– Clipboards: Hang clipboards for easy swapping of current artwork.
– String and clips: Use a string with clothespins to hang art in a fun, flexible way.
– Rotating display: Set up a small gallery area where new art is rotated regularly.
Step 5: Create Art Books or Portfolios
Turning artwork into books is a great way to save space and create keepsakes.
– Photo books: Take high-quality images or scans of your child’s artwork and create printed photo books.
– DIY binders: Organize originals or copies in binders with plastic sleeves.
– Scrapbooks: Combine art with notes, dates, or stories for a personalized touch.
Step 6: Involve Your Child in the Process
Engage your child in organizing their art. This teaches responsibility and helps them value their creations.
Ways to Get Kids Involved
– Let them pick which pieces to display or keep.
– Help with sorting or labeling.
– Encourage them to create labels or titles for artwork.
Step 7: Repurpose or Gift Artwork
Not every piece needs to be stored forever. Repurposing or gifting art can be meaningful.
– Turn artwork into wrapping paper, cards, bookmarks, or ornaments.
– Gift special pieces to family members or friends.
– Use scraps for new art projects, teaching sustainability.
Step 8: Maintain the System
Organization is an ongoing process. Set reminders to review and update your art storage regularly.
– Schedule quarterly reviews.
– Update displays and rotate art.
– Digitize new artwork consistently.
Final Thoughts
Organizing your kids’ art doesn’t have to be overwhelming. With a dedicated space, regular sorting, and creative storage solutions, you can cherish their masterpieces while keeping your home tidy. Remember, the goal is to celebrate creativity and make memories, not to hold on to every single piece. By involving your child, you also turn organization into a fun and meaningful activity.
Try out these tips and watch the clutter vanish while your child’s art shines in a space that welcomes creativity and order. Happy organizing!